
lbdesignworks
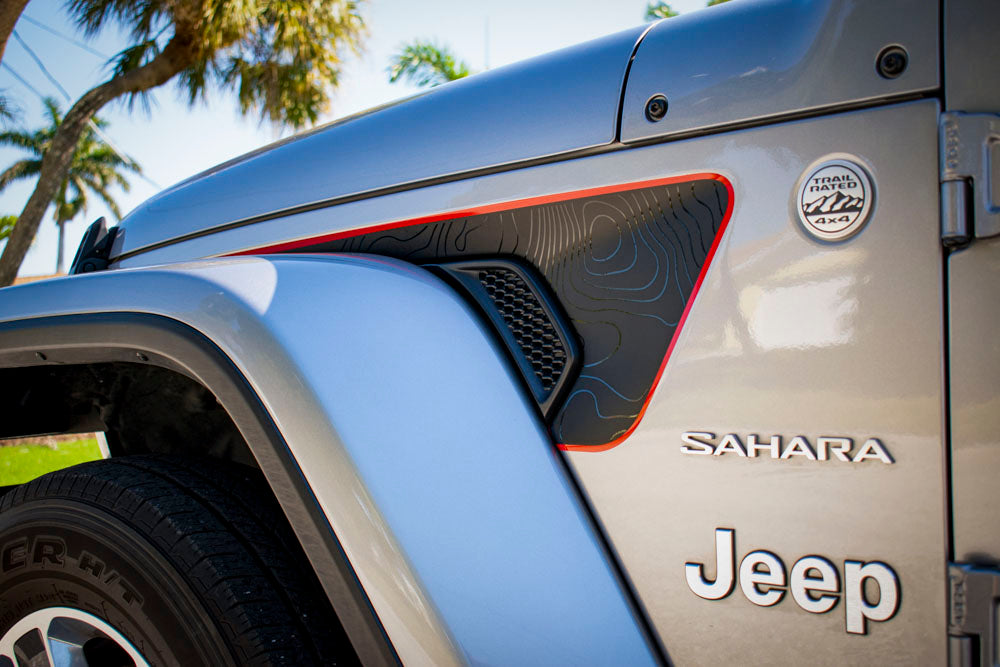
Long Topographical Red Line Rubicon Blackout Decal- Fits Jeep Wrangler & Gladiator JL Fender Vent Decal-Pair
Couldn't load pickup availability
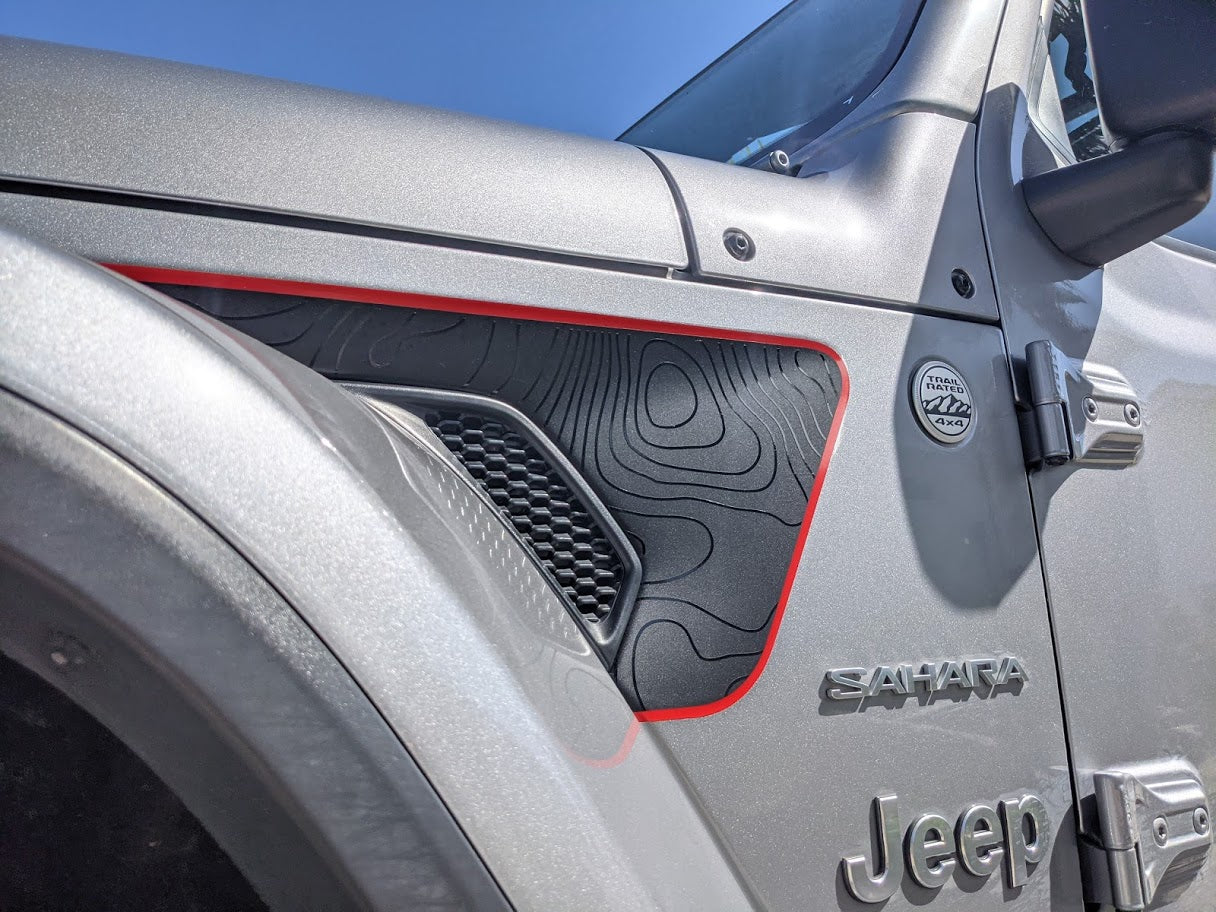
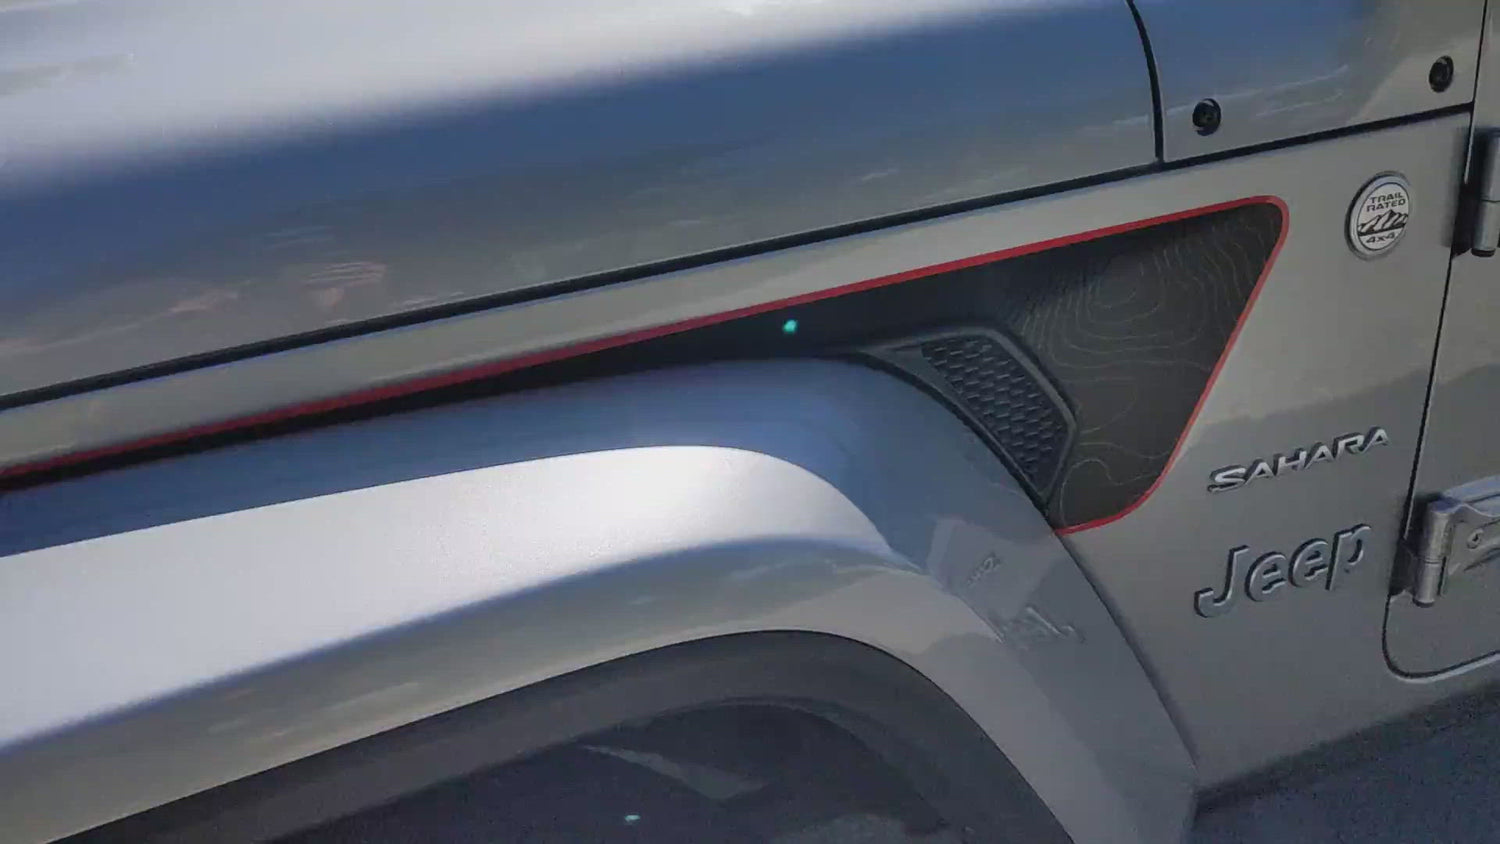
Topographical red line 3-Layer decal cut to fit inside the 2018 & newer Jeep Wrangler JL and 2020 and newer Jeep Gladiator fender vent.
Measures approximately 26" x 9.5".
Matte black background, gloss black topographic lines with gloss red. Decals are cut sent separately, for you to align. Apply red using the wet method first, then after dry, apply black decal using wet method. Red is a full sized vent decal, matte black is slightly smaller and applied on top of red. Gloss black lines will be applied on top of matte black.
Decal order comes as a pair- (1) driver side, (1) passenger side.
Oracal 651
Note:
- "Dark red" is closest to Rubicon red
- "Orange" is closest to Mojave orange- It is slightly off, but fairly close. Message with any questions
- "Light Blue" is closest to 4XE Blue ( Non-Metallic)
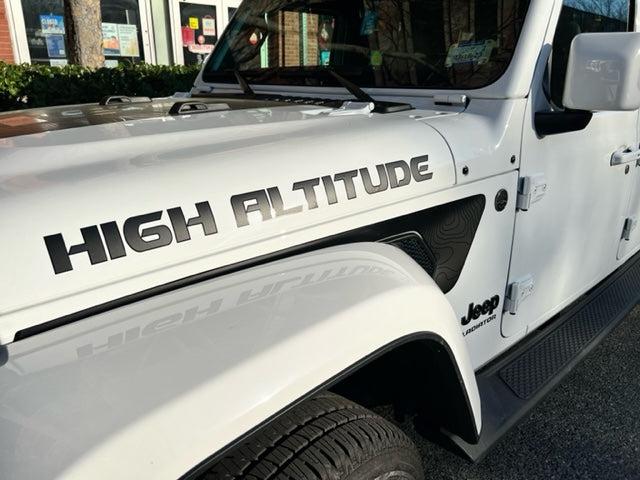
Although possible, this long version is more challenging to apply on Mojave and Rubicon Models due to the higher fenders. The shorter version may be easier to apply. Please reach out with any questions!
Share